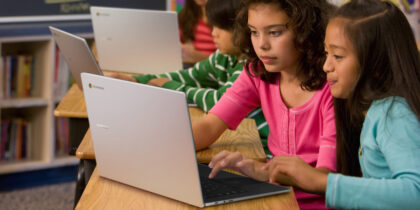
There’s a reason so many school districts are setting students up with Chromebooks to support remote, hybrid and classroom learning: they’re intuitive and easy to use, and with the right apps they can support students at nearly every grade level. Still, with all that capability, students receiving them for the first time may need some help getting up to speed — not to mention learning some handy tricks and shortcuts.
Whether you’re preparing to deploy Chromebooks in your district, or you already have, here’s a series of kid-hosted how-to videos that you can share with your students. For students who are used to working on traditional laptops or tablets, or who have some questions about the Chrome OS and how it differs from other common operating systems, the “Chromebook hacks for the new classroom” videos are here to help. They’ll teach students basic care and navigation, keyboard shortcuts, touchpad gestures and how to use apps like Google Classroom for doing homework — and even some tips for parents.
Here’s your introductory guide to mastering Chromebooks in the classroom:
Powering up and basic navigation
When you push the power button, the Chromebook boots quickly, taking you to a sign-in screen. (Students might need help signing in with their email and password, based on your district’s system.)
17 innovative lesson ideas for remote learning
Get your free pack of multidisciplinary lesson plans to teach modern students with modern tools. Download Now
After signing in, you’ll be taken to the home screen. With the touchpad, move your cursor to the little circle in the bottom left of the screen. That’s called the Launcher. Click the arrow at the top and you’ll see all the apps on your Chromebook.
Keyboard basics
Students might already know where to find the most basic keys, like Enter, Backspace and Shift, but they should also get familiar with the Chromebook’s Search key, marked by a magnifying glass icon, located on the far left side of the keyboard. Pressing this key takes you to a toolbar where you can search your Chromebook or the web.
A few useful shortcuts along the top of the keyboard include:
- The volume control keys and the mute key, which are located next to the power button
- The brightness control keys
- The “Show windows” key, which is great for jumping between apps (you can even use apps in split-screen mode, just by dragging and dropping the windows)
- The arrow keys, which let you navigate backward and forward in the browser
Keyboard shortcuts
Students can save time and effort while working on their assignments by using Chromebook keyboard shortcuts. Instead of digging through different menus, they can find what they need by pressing two keys. Here are a few useful shortcuts they should learn:
- Ctrl + C copies a highlighted image or text.
- Ctrl + X will cut (copy and delete) highlighted content.
- Ctrl + V pastes the image or text where you want to move it.
- Ctrl + Z undoes the last thing you did. To undo more than one action, press Ctrl + Z again. If you go too far, press Ctrl + Shift + Z to redo.
- Search + L locks the screen.
- Ctrl + Switcher takes a screenshot. The image is saved in your Downloads folder.
- Alt + Search turns on caps lock. (Chromebooks don’t have a physical caps lock key.)
- Ctrl and + (the plus sign) zooms in on a web page or document. Ctrl and – (the minus sign) zooms out.
Organizing apps
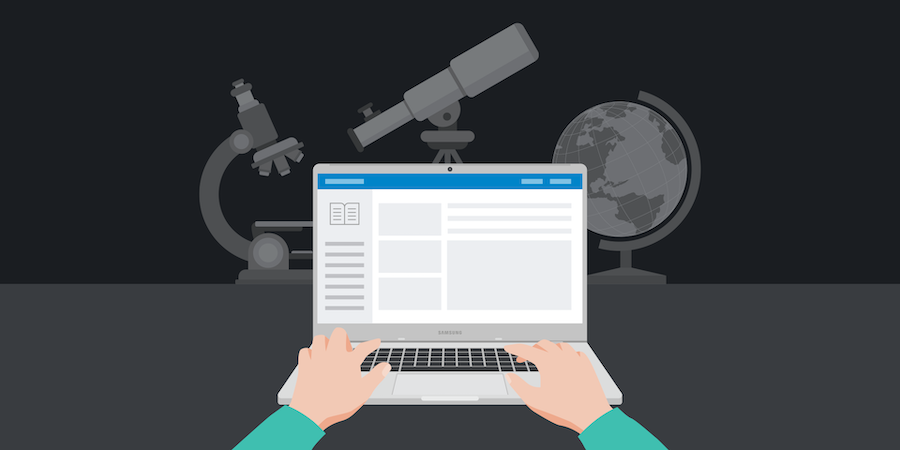
As they’re learning, students should know where to find the apps they’ll be using most frequently, such as Google Classroom, Google Slides, Google Docs, Google Meet and any other education apps your school uses.
Frequently used apps can be conveniently stored on the shelf. To add an app to the shelf, use two fingers to tap the app icon, and then choose “Pin to shelf” from the menu. To put apps together in a folder, drag one app onto the other, and then click below to name the folder. School IT can also configure the shelf for all student-issued devices using the Chromebook Management console.
To download Android apps, click on Play Store, search for what you need, click Install and then Open.
Files and settings
Finding files on your Chromebook is easy — if you know where to look. If what you need is saved on the internal hard drive, click the Launcher and then open Files to look for it.
To find files stored in the cloud on Google Drive, click the Google Drive icon in the Launcher.
To change your Chromebook settings, click the clock in the bottom right of the screen to open the quick settings panel. To open the full settings menu, click the gear icon.
From this menu, you can connect your Chromebook to a Wi-Fi network, link it to peripheral devices such as speakers or a mouse, personalize your desktop wallpaper, adjust the size of the built-in display and turn on the Night Light.
Touchpad
The Chromebook touchpad has a lot of built-in shortcuts to help students navigate. Here are instructions for several useful gestures:
- Use one finger to move the cursor across the screen. Tap lightly to click on something.
- Use two fingers to scroll up or down or turn pages in an e-book.
- To bring up the right-click menu, click with two fingers.
- To zoom in, put two fingers together on the touchpad and move them away from each other. To zoom back out, put two fingers on the touchpad a small width apart and pinch them together.
- Swipe up with three fingers to see all the windows you have open.
- If you have several tabs open, you can quickly move between them by swiping left or right with three fingers.
For more kid-friendly Chromebook tips, check out our other videos in the Chromebook hacks series.
If you’re not sure what kind of mobile technology best suits your students’ needs, compare Samsung’s offerings of Galaxy Chromebooks for education. And for tips on funding your education technology initiative, consult our industry experts’ free guide.